


Note: The English articles on this blog are translations from Japanese, so there may be unnatural expressions or unclear content in the English text or images.
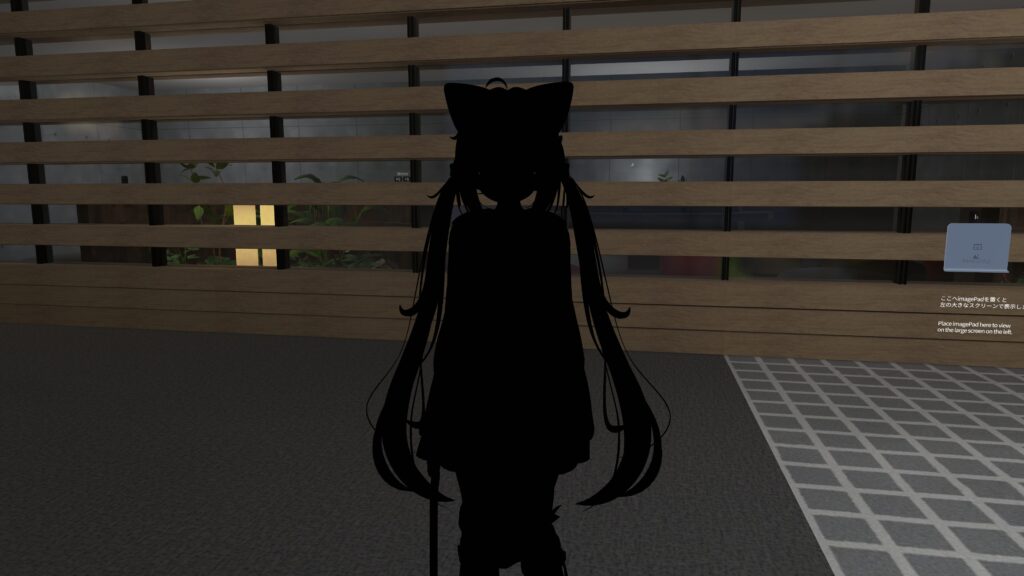
Have you ever encountered these problem while taking photos in VRChat?
“My avatar looks so dark… The photos turn out terrible…”
In this article, I will clearly explain how to install and use Light Limit Changer, a tool designed to solve the problem of dark avatars in VRChat photos!
もくじ

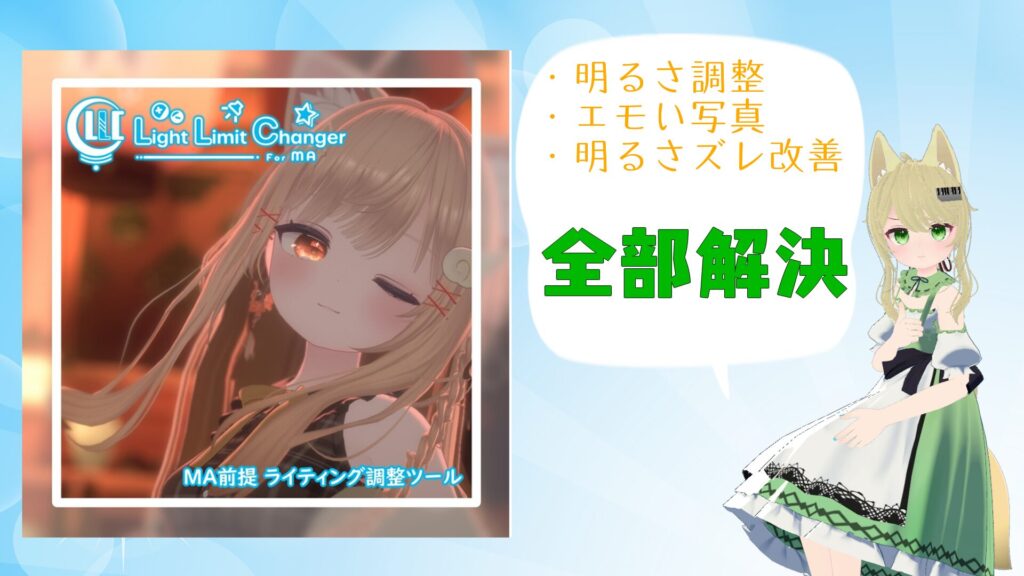
What Light Limit Changer Can Do
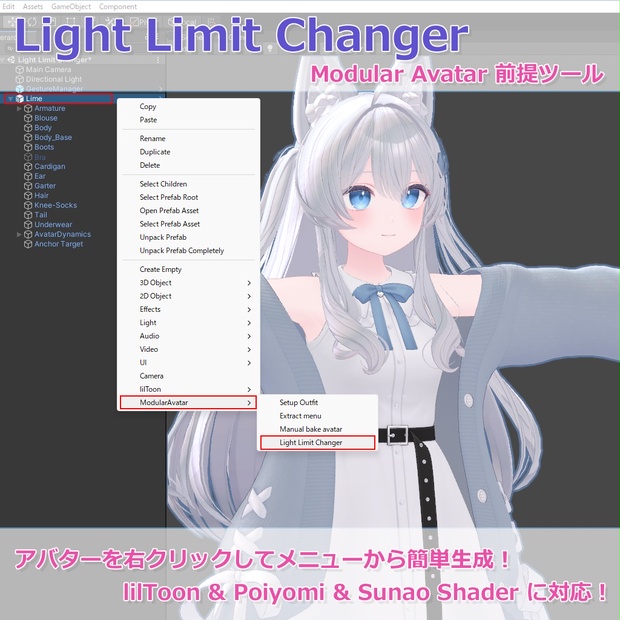 アバターの明るさ変更メニューを生成するツールです。 Modular Avater併用の非破壊ツールなので既存FXに変更を加えません! *v1.8.0~ Unity2022 (2022.3.6f1) 対応済み 【主な機能】 ●lilToon・Poiyomi・Sunao シェーダー対応 ●明るさの上限/下限の設定 ●彩度の調節機能 ●色温度の調節機能 ●Unlit(Unlighting)の調節機能 ●ライトのモノクロ化の調節機能 その他便利機能 ・各シェーダーの明るさの下限・上限の統一 [Modular Avater] https://modular-avatar.nadena.dev/ja/
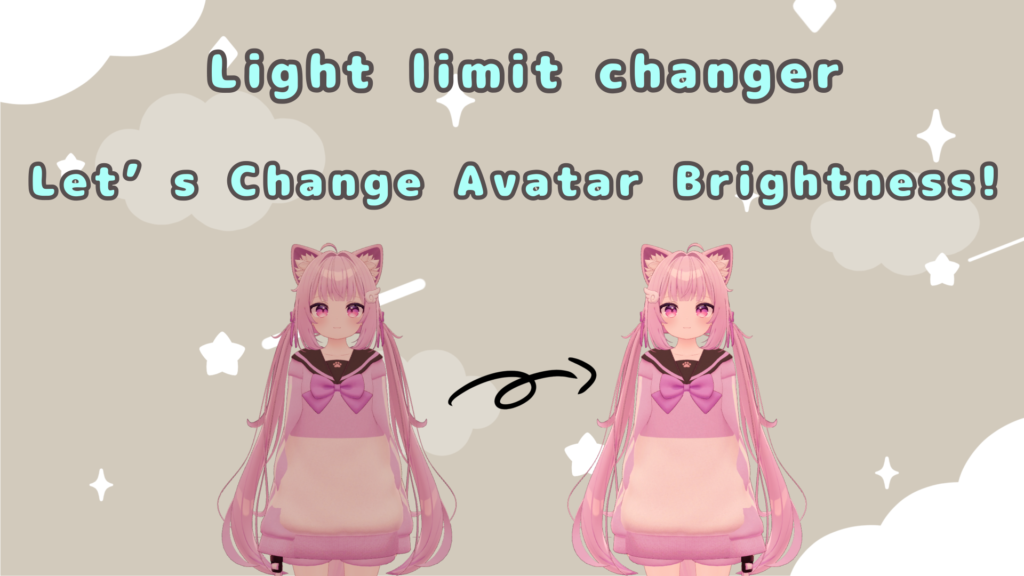
Adjust your avatar’s brightness.
You can adjust your avatar’s brightness like this, without being affected by the world’s lighting.
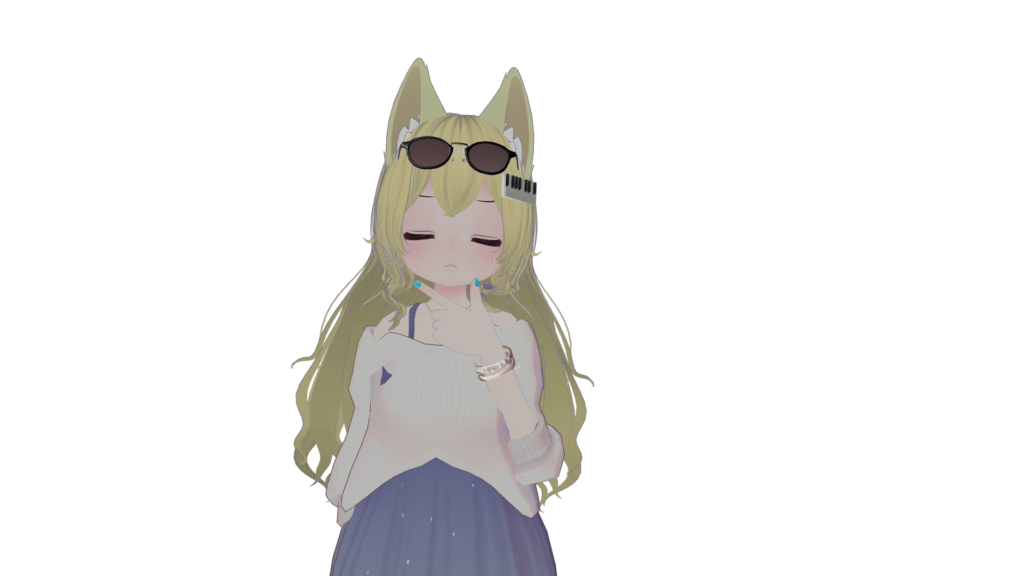
Adjust things like saturation in addition to brightness.
Not only can you adjust brightness, but you can also tweak saturation, color temperature, and even apply monochrome effects!

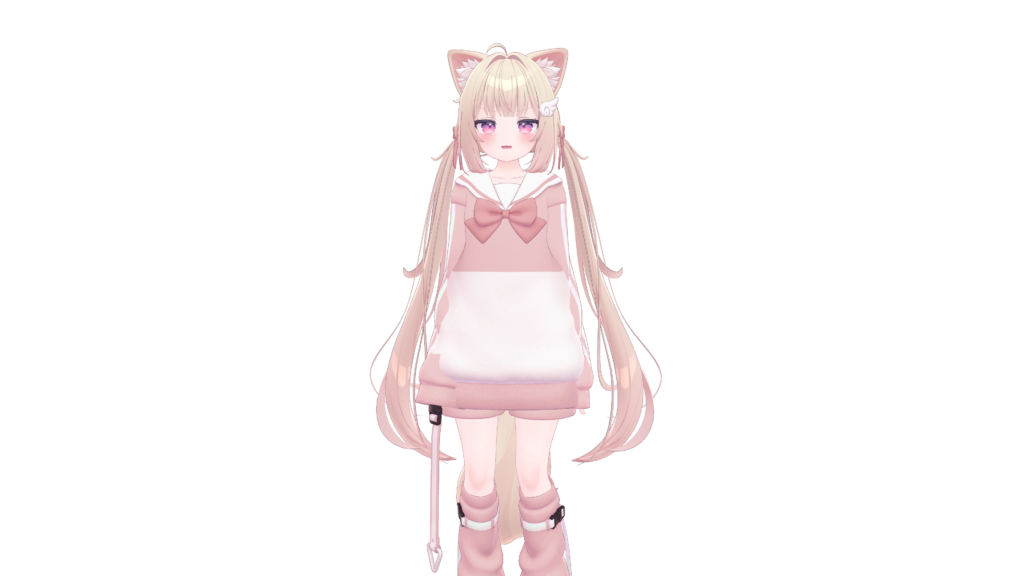
We compared 0% and 100% brightness. The difference is pretty striking!
How to Install
Light Limit Changer supports two installation methods: via VCC (VRChat Creator Companion) and UnityPackage.
This guide will explain the recommended VCC installation method!
For detailed instructions on both methods, please refer to the linked article!
アバターの明るさ変更メニューを生成するツールです。 Modular Avater併用の非破壊ツールなので既存FXに変更を加えません! *v1.8.0~ Unity2022 (2022.3.6f1) 対応済み 【主な機能】 ●lilToon・Poiyomi・Sunao シェーダー対応 ●明るさの上限/下限の設定 ●彩度の調節機能 ●色温度の調節機能 ●Unlit(Unlighting)の調節機能 ●ライトのモノクロ化の調節機能 その他便利機能 ・各シェーダーの明るさの下限・上限の統一 [Modular Avater] https://modular-avatar.nadena.dev/ja/
First, head over to this Booth site.
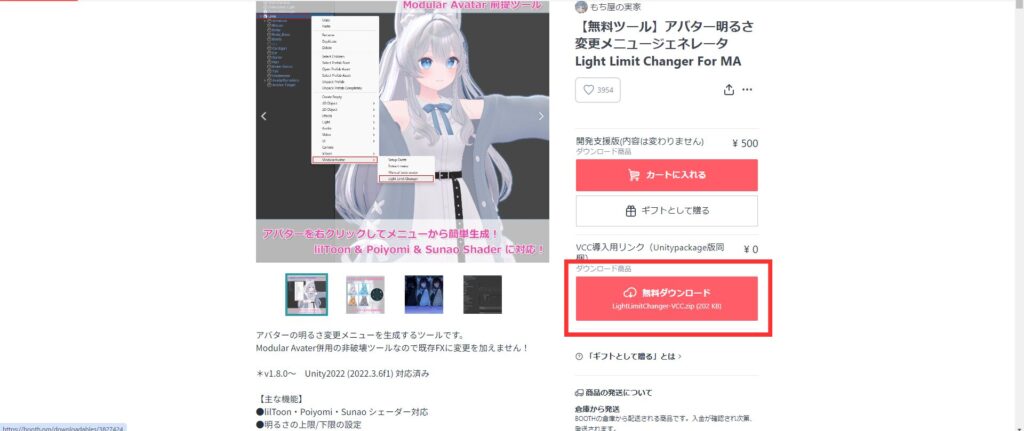
Click the button outlined in red to download the file.
After downloading, extract the file as you normally would.
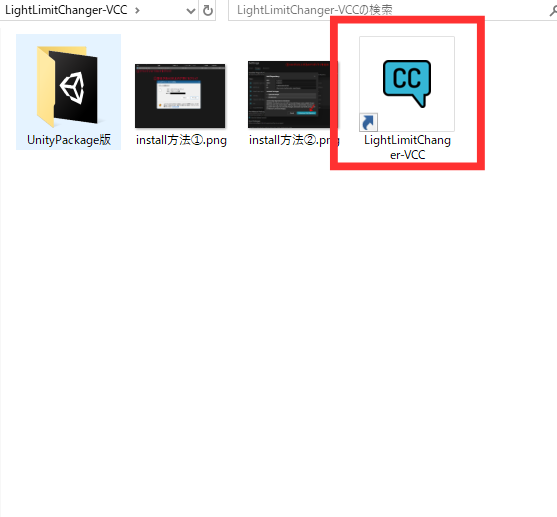
For VCC, double-click on LightLimitChanger-VCC, highlighted in red.
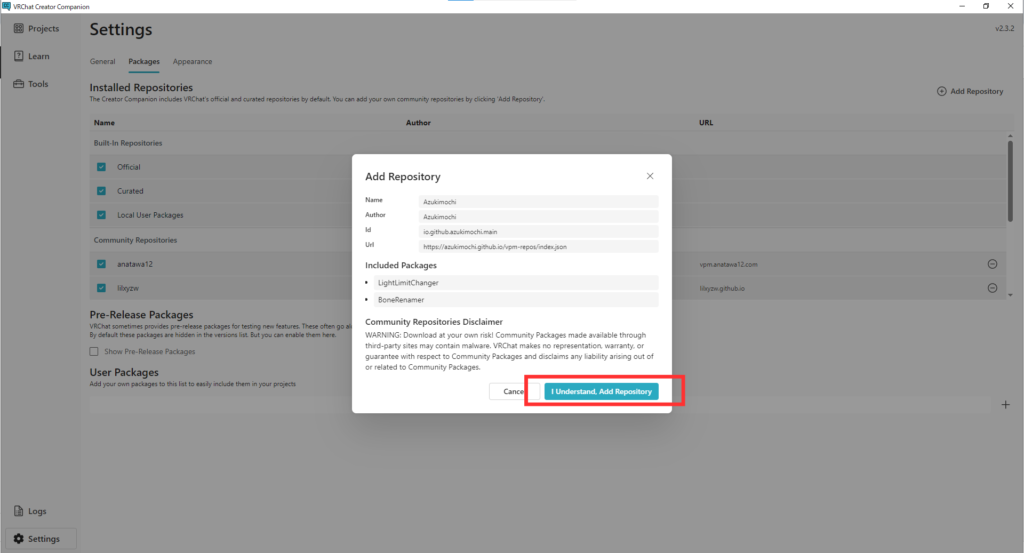
The VCC screen will open. Click I Understand, Add Repository, which is equivalent to “OK,” to add it to VCC.
Next, proceed with importing the tool into Unity.

Click Manage Project for the Unity project where you want to install it.
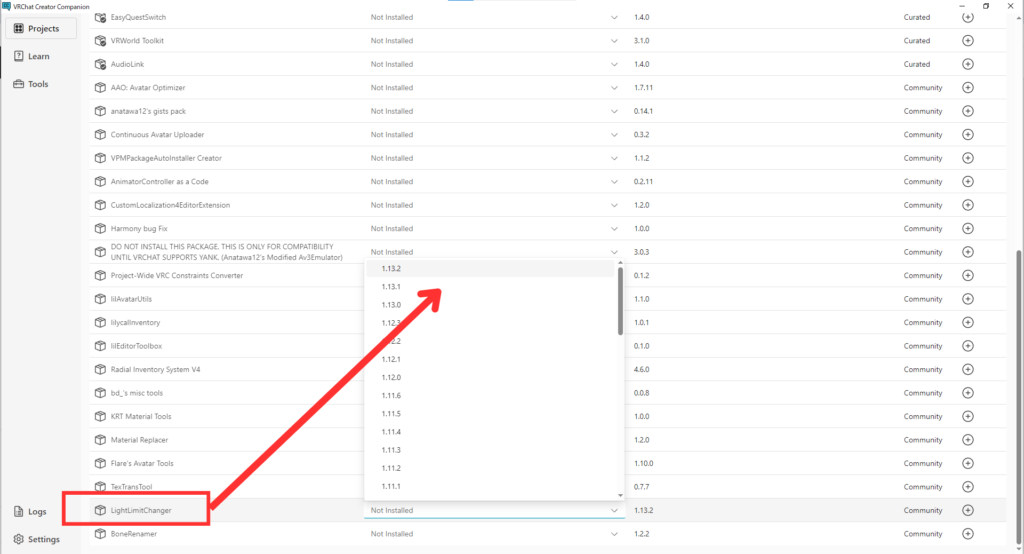
Select the latest version from LightLimitChanger (currently version 1.13.2).
With this, the tool has been successfully installed in Unity.
How to Apply to Your Avatar
Now, let’s get to the main topic—applying Light Limit Changer to your avatar!
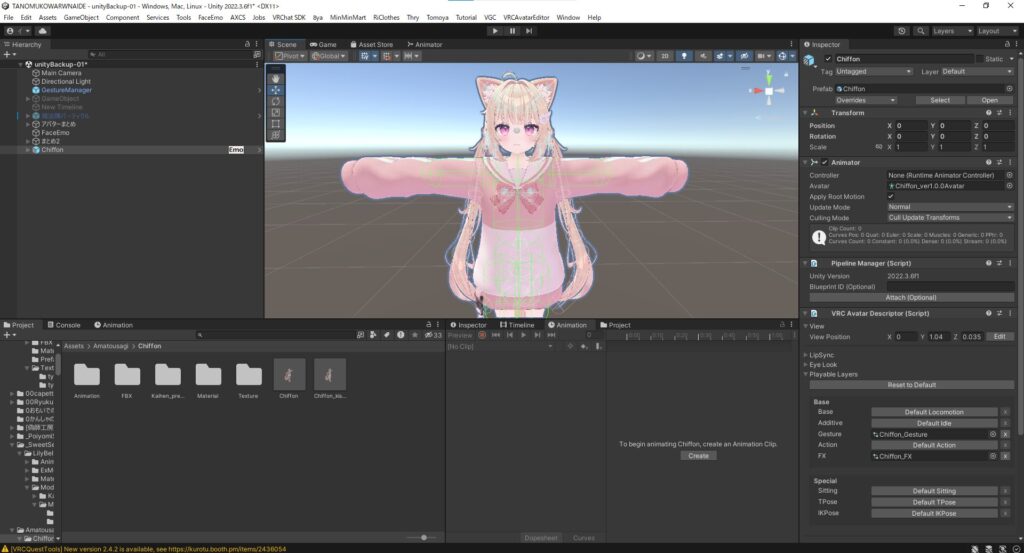
This time, I’ll be using “Chiffon” to explain!
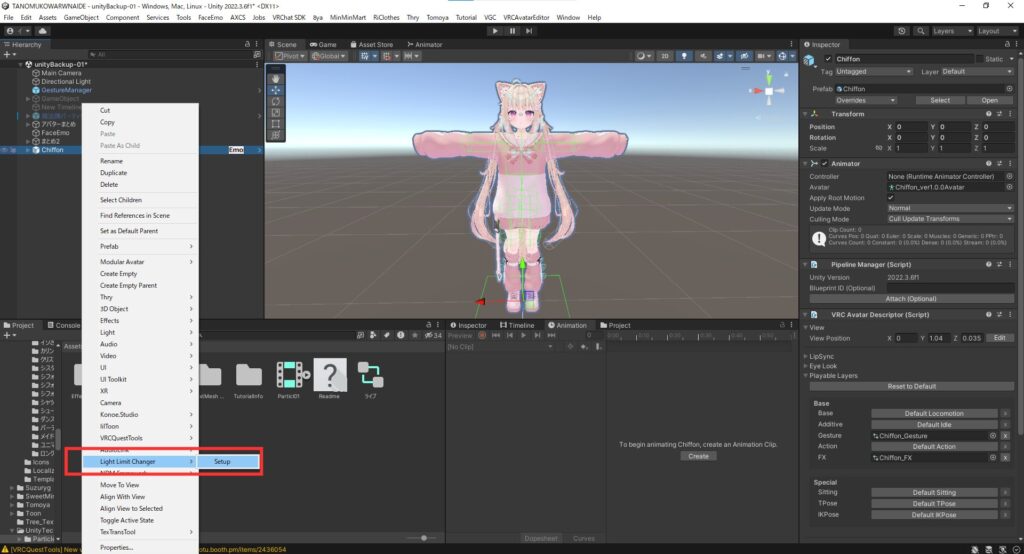

Right-click on the avatar in the Hierarchy (top-left of the screen), which in this case is Ciffon.
Hover your mouse over Light Limit Changer, and when “Setup” appears, click on it.
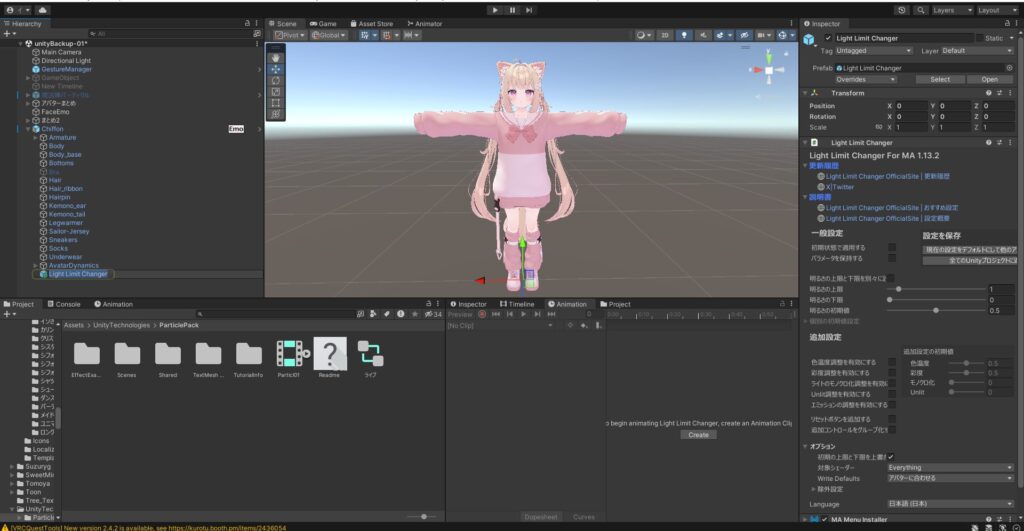
And that’s it—the setup is complete!
In the Inspector on the right side of the screen, you can adjust the lighting and add more adjustment options. Feel free to customize it to your liking!
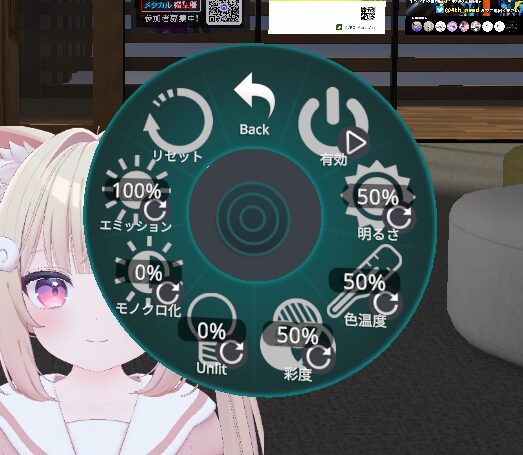
How to Use Light Limit Changer
Let me explain how to use it!
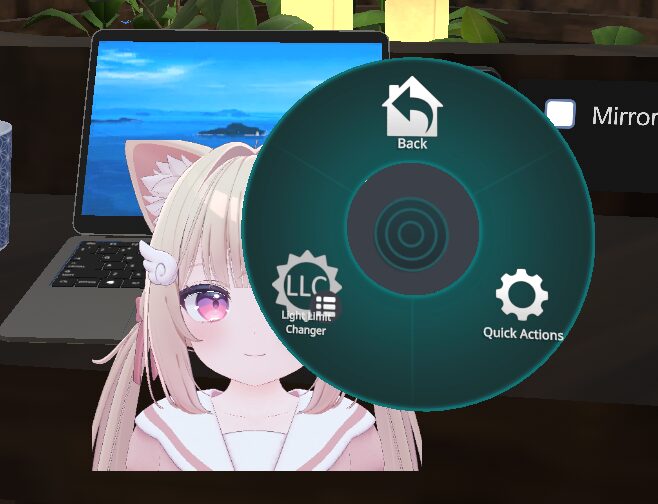
This tool can be accessed from the Expression Menu.
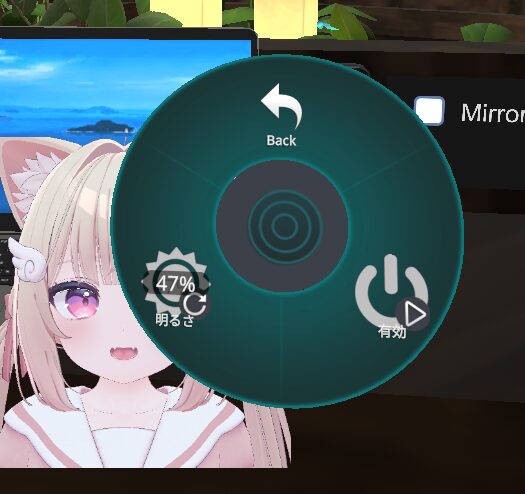
Turning Enable to ON will activate Light Limit Changer.
When adjusting brightness, use the Brightness option to make your adjustments.
At vrnavi, we focus on articles related to Unity! We’d be thrilled if you could check out #AvatarCustomizationGuide!